

Blog
Conveyor Belt Tracking: A Practical Troubleshooting Guide

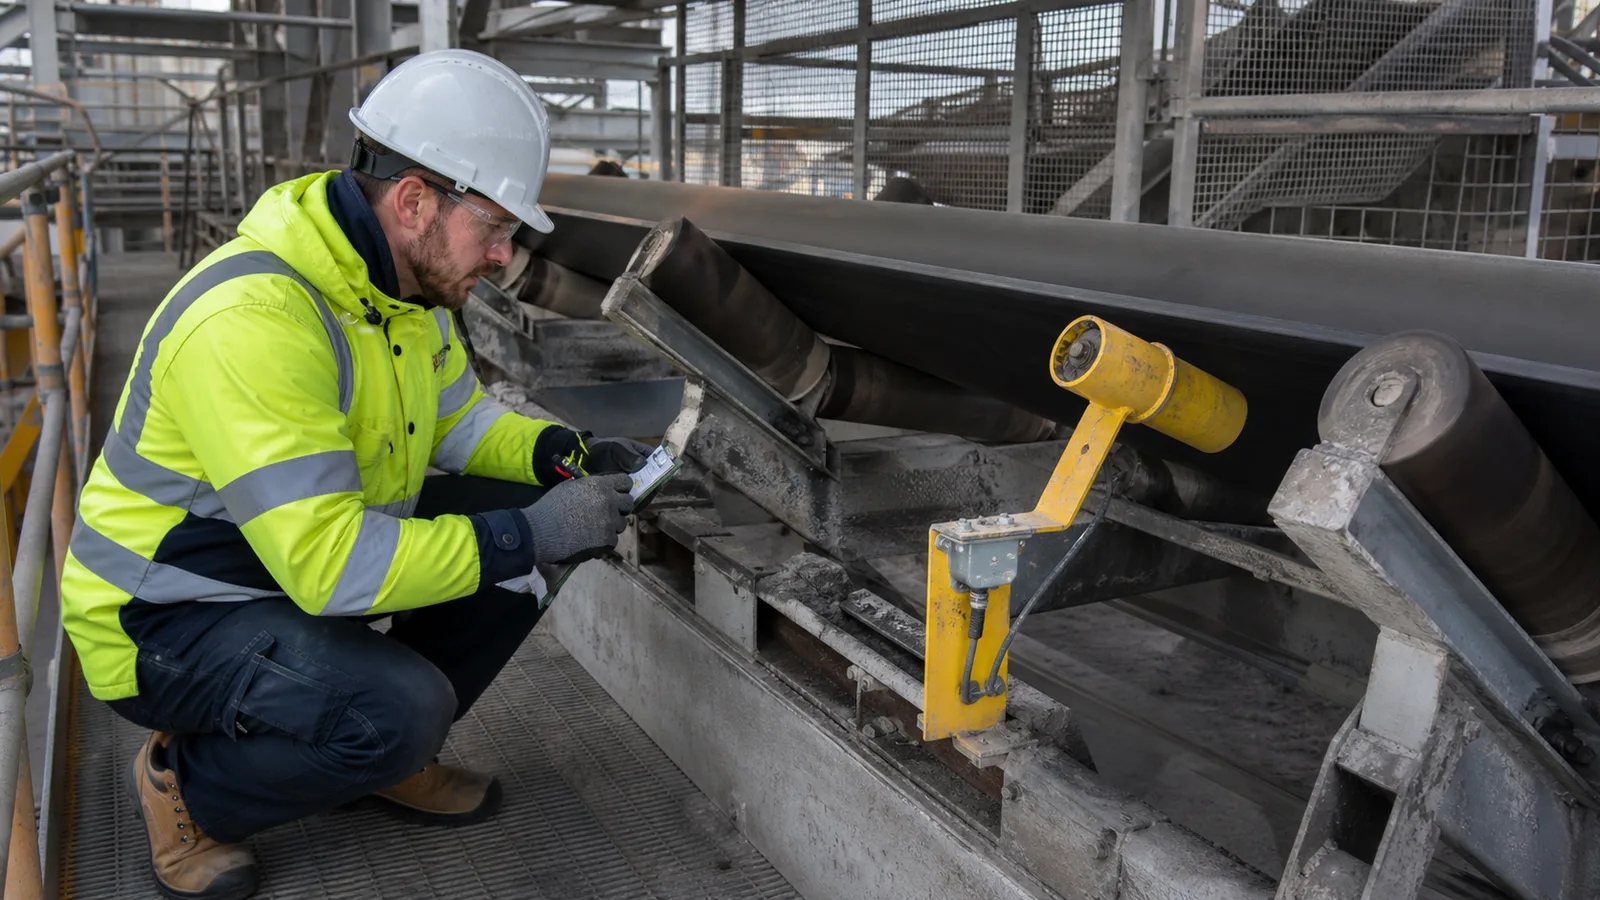
This practical guide examines conveyor belt tracking from an engineering, installation and lifecycle perspective.
Good conveyor belt tracking is the result of correct geometry, clean components, stable loading and controlled tension—not repeated random adjustments.
Key takeaways
- Lock out the conveyor before physical inspection or adjustment.
- Find where the belt first begins to deviate; the visible rub point may be downstream of the cause.
- Treat a misalignment switch as protection, not as a belt guide or tracking correction device.
Why conveyor belts run off track
A belt seeks a path determined by pulley alignment, idler geometry, tension distribution and the location of the conveyed load. Off-center loading creates unequal forces, while seized idlers, carryback and distorted structure steer the belt away from the conveyor centerline. Wind, rain, temperature and belt splice quality can amplify the effect on long outdoor systems.
The first useful observation is the point where deviation begins. If the belt is centered before a loading zone and leaves it off-center, investigate the loading trajectory and skirt condition. If both empty and loaded runs drift at the same pulley, check the pulley axis, buildup and upstream idlers. Marking observations by conveyor station prevents adjustment by guesswork.
A safe tracking diagnostic sequence
Use one controlled change at a time and record the response. This preserves cause-and-effect and avoids creating several new variables during the same test.
- Review trip history, operating load, weather and recent maintenance before approaching the conveyor.
- Apply the site isolation procedure, then inspect belt edges, splice, cleaners, skirting, idlers, pulleys and structure.
- Remove material buildup and replace seized or damaged rotating components before alignment changes.
- Run an authorized test under controlled conditions and observe the belt from a safe location.
- Adjust only according to the conveyor manufacturer’s procedure, then repeat the observation at empty and representative load.
Tracking measurements and protective switches
Reference measurements should be taken from the conveyor centerline and rigid structure, not from a bent guard or accumulated material. Alignment switches are normally installed in pairs at critical points so a developing deviation can create a warning and, if it worsens, a trip. Their roller clearance is set after the belt runs correctly.
- Check pulley squareness, level and shaft condition.
- Check idler frames for skew, settlement and seized rolls.
- Confirm that the feed stream lands near the belt center and has compatible horizontal velocity.
- Verify tension and take-up travel against the conveyor design.
- Set alarm and trip contacts so the belt is protected before damaging contact occurs.
Common tracking mistakes
Fast corrections often hide the cause temporarily. A belt that is forced back by aggressive idler skew may track empty yet run off under load, increase rolling resistance or wear the belt cover.
- Using the switch roller continuously as a guide roller.
- Moving several idler frames at once without recording original positions.
- Ignoring asymmetric loading or a chute that shifts the stream during flow changes.
- Resetting repeated sway trips without examining belt edges and the first deviation point.
- Working near a moving belt outside an approved, risk-controlled diagnostic method.
Verification and prevention
After correction, inspect the complete belt circuit at start-up, steady load, shutdown and relevant process rates. Record normal belt-edge position at the monitored points. Trend switch pre-alarms because a rising number of short deviations can reveal an idler, loading or tension problem before a full trip.
- Photograph or mark normal belt position at critical stations.
- Function-test both sides of each misalignment switch and confirm PLC indications.
- Inspect belt cleaners and carryback areas at a frequency matched to buildup rate.
- Include splice condition, pulley lagging and take-up travel in preventive inspections.
Specification and verification record
For a repeatable conveyor belt tracking decision, retain the approved datasheet, model code, mounting or calibration values, wiring reference and observed functional-test result under the equipment tag. Related terminology such as conveyor belt misalignment, how to track a conveyor belt, belt drift troubleshooting can describe adjacent search or purchasing language, but it must not be used to assume that devices with different functions are interchangeable.
- Record the normal state and the exact condition that creates alarm or trip.
- Photograph the final installation and nameplate before contamination reduces legibility.
- Link every setting change or replacement to an authorized work order.
- Repeat the relevant proof test after mechanical, electrical or software modification.
Frequently asked questions
Why does a conveyor belt track to one side?
Common causes are off-center loading, pulley or idler misalignment, buildup, unequal tension, seized rolls, structural distortion and belt or splice defects.
Which way should an idler be adjusted?
Adjustment depends on conveyor geometry and manufacturer guidance. Make small controlled changes only after eliminating buildup, damage and loading causes.
Where should a belt sway switch be installed?
Typical locations include head and tail areas, loading zones and unstable long sections, with paired switches positioned to protect both belt edges.
Can the conveyor run after a misalignment trip?
The cause should be inspected and corrected, the protection function tested and the restart authorized under site procedure before operation resumes.
Engineering note: Always verify the selected switch, wiring method, stopping function and environmental rating against the manufacturer’s current datasheet, the machine risk assessment and the standards enforced at the installation location.